How to use table lists and filters
Table Lists Overview
Table lists in Twindo allow you to view, filter, format, export, and take action on your operational data. All tables share a consistent layout and functionality, with parameters that adapt depending on the data type.
You can expect the same user interface behavior across all main data areas, making navigation and task execution fast and familiar.
Menu Items with Table Lists
The following sections in Twindo include table lists:
- Projects
- Sites
- Turbines
- Forms
- Reports
- Daily Progress Reports (DPR)
- Workflow
- Technicians
- Timesheets
- Skills
- Back Office
- Organisation
- Contacts
How to Use Table Lists
Each table provides tools for filtering, exporting, and performing actions on individual or multiple records. The following sections will guide you through how to use them effectively.
Main Row Actions
Main row actions let you manage individual records or multiple entries directly from any table view.
Available Actions
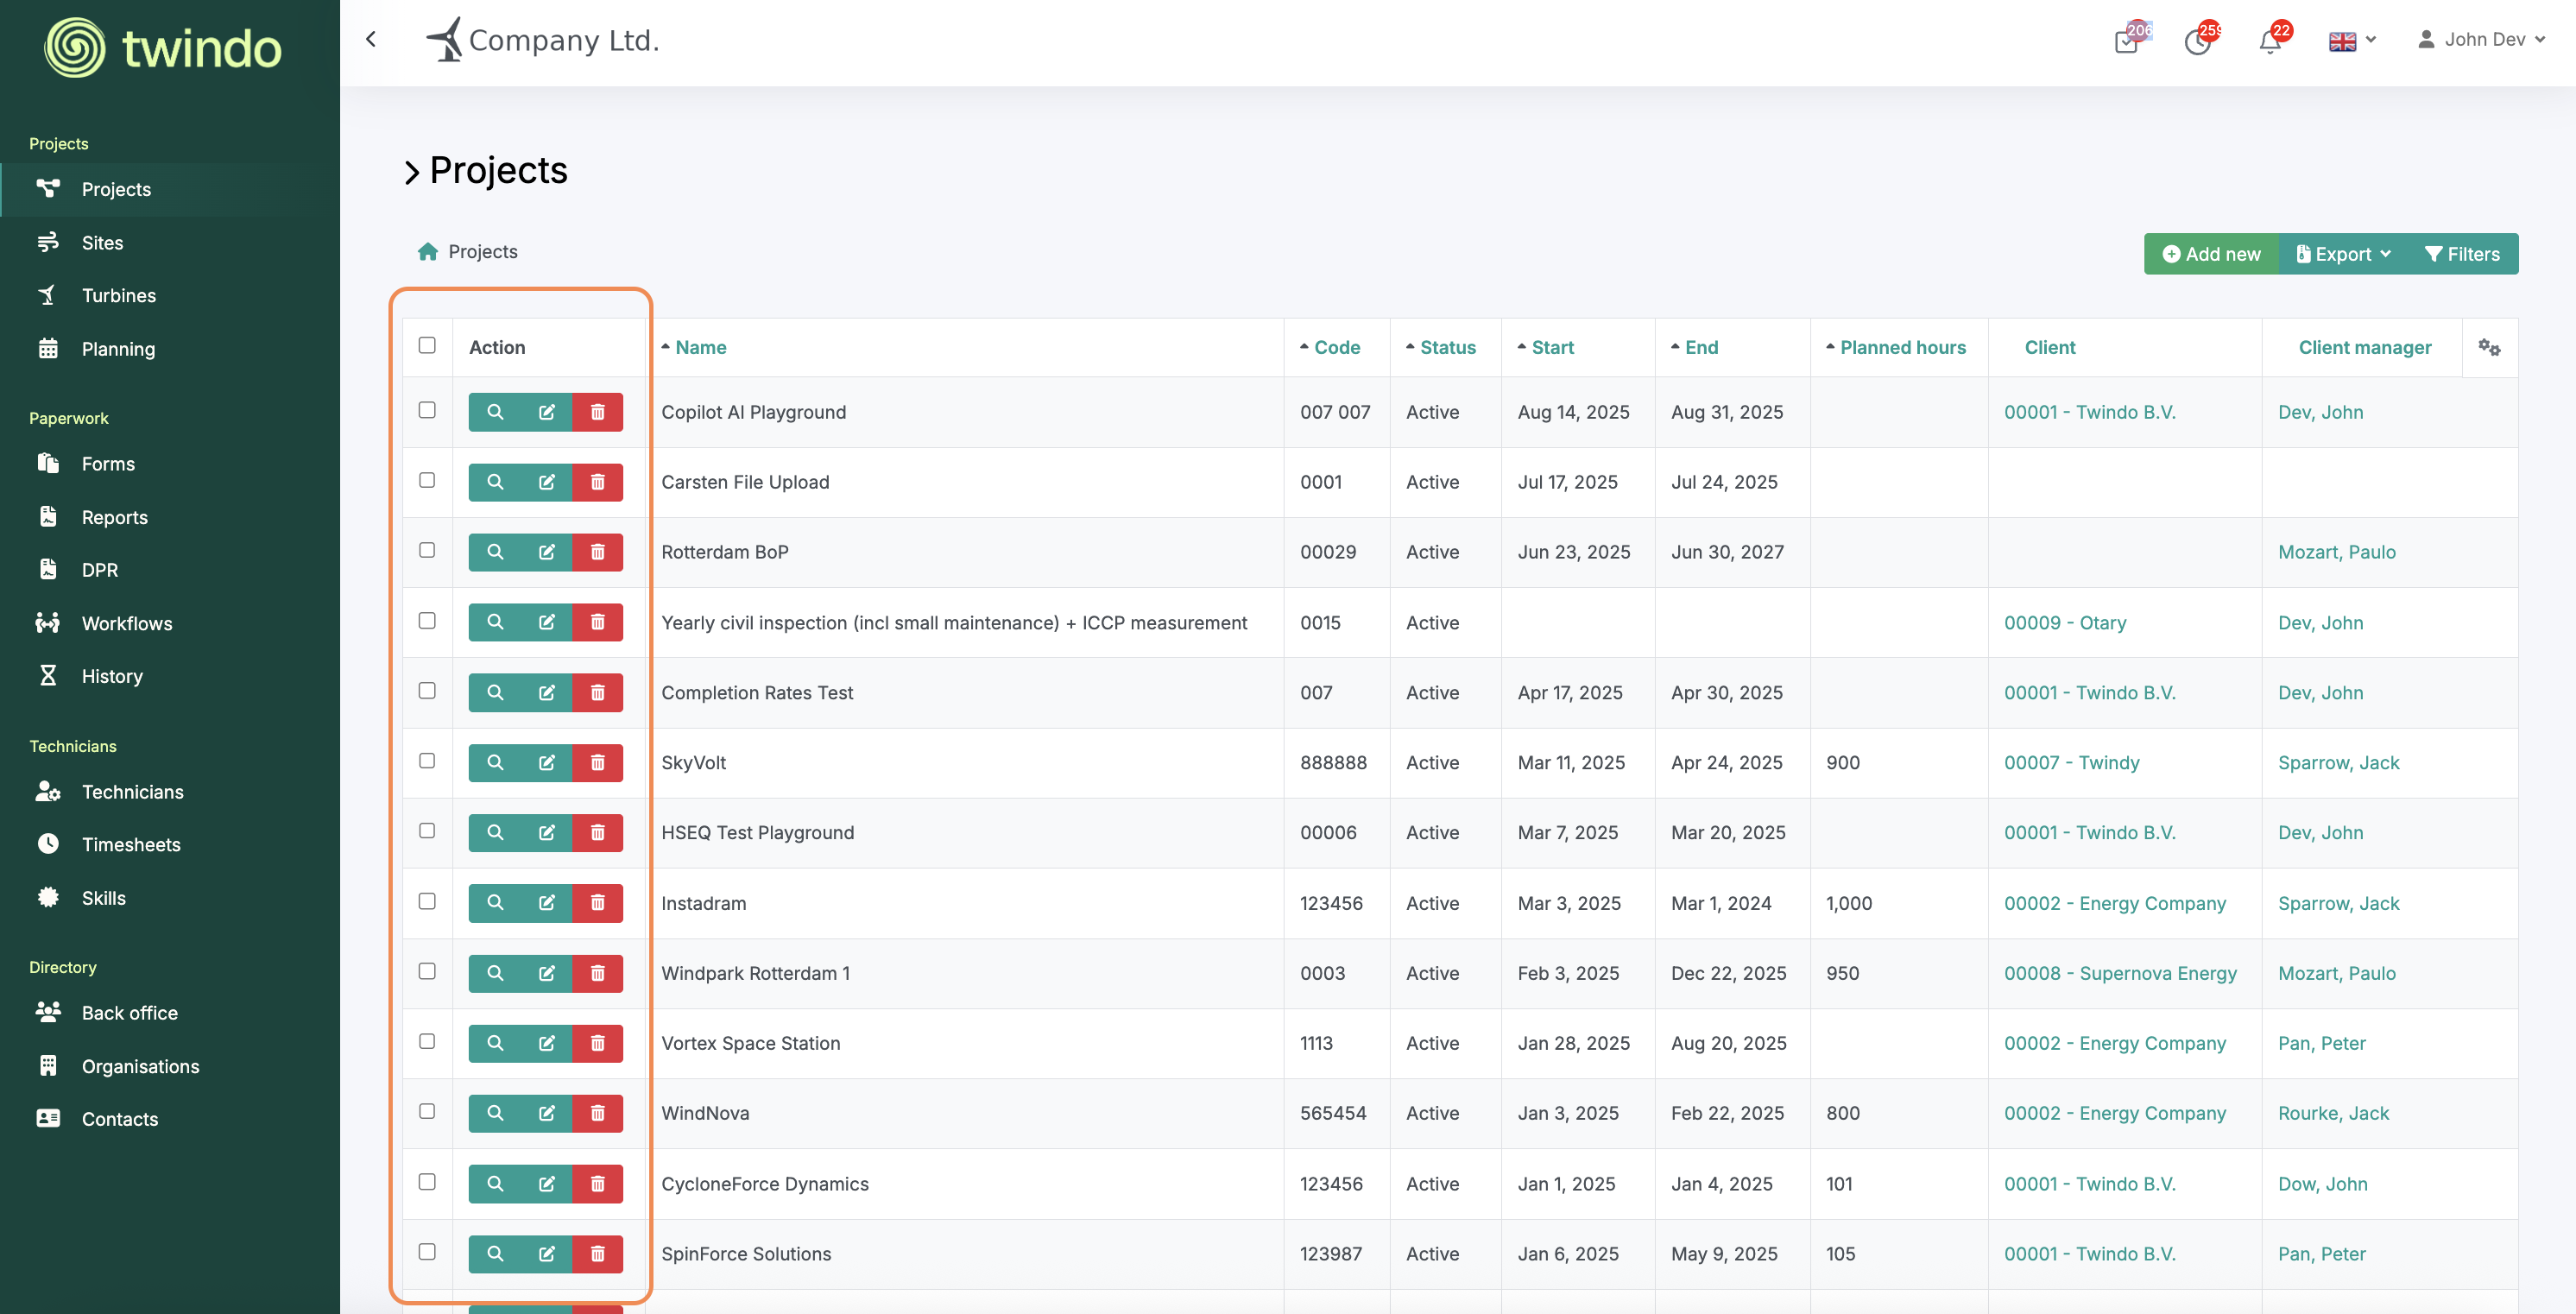
Batch Selection: Click the small white square on the far left of each row to select multiple projects. A Batch Options field will appear at the bottom of the table. For projects, batch actions currently include Delete.
View: Click the green Magnifying Glass icon to open the project overview screen.
Edit: Click the green Edit icon in the middle of the row to open the editing screen.
Delete: Click the red Delete button to remove the selected project from the table.
These quick access controls help you manage records efficiently while keeping your project data organized and visible.
Page Actions
Page actions allow you to create, export, and filter data directly from any main table or dashboard view.
Available Actions
Create New: Click the light green Add New or Create New button to open the creation screen for projects, reports, or records.
Export Table: Select the darker green Export button and choose your preferred export type (xlsx, PDF, or image folder, depending on the table).
Filter Table Results: Click the Filters button to refine your view. You can select standard filters or open Advanced Filters for more specific conditions.
These tools make managing your operational data fast, consistent, and easy for both you and your team to interpret.
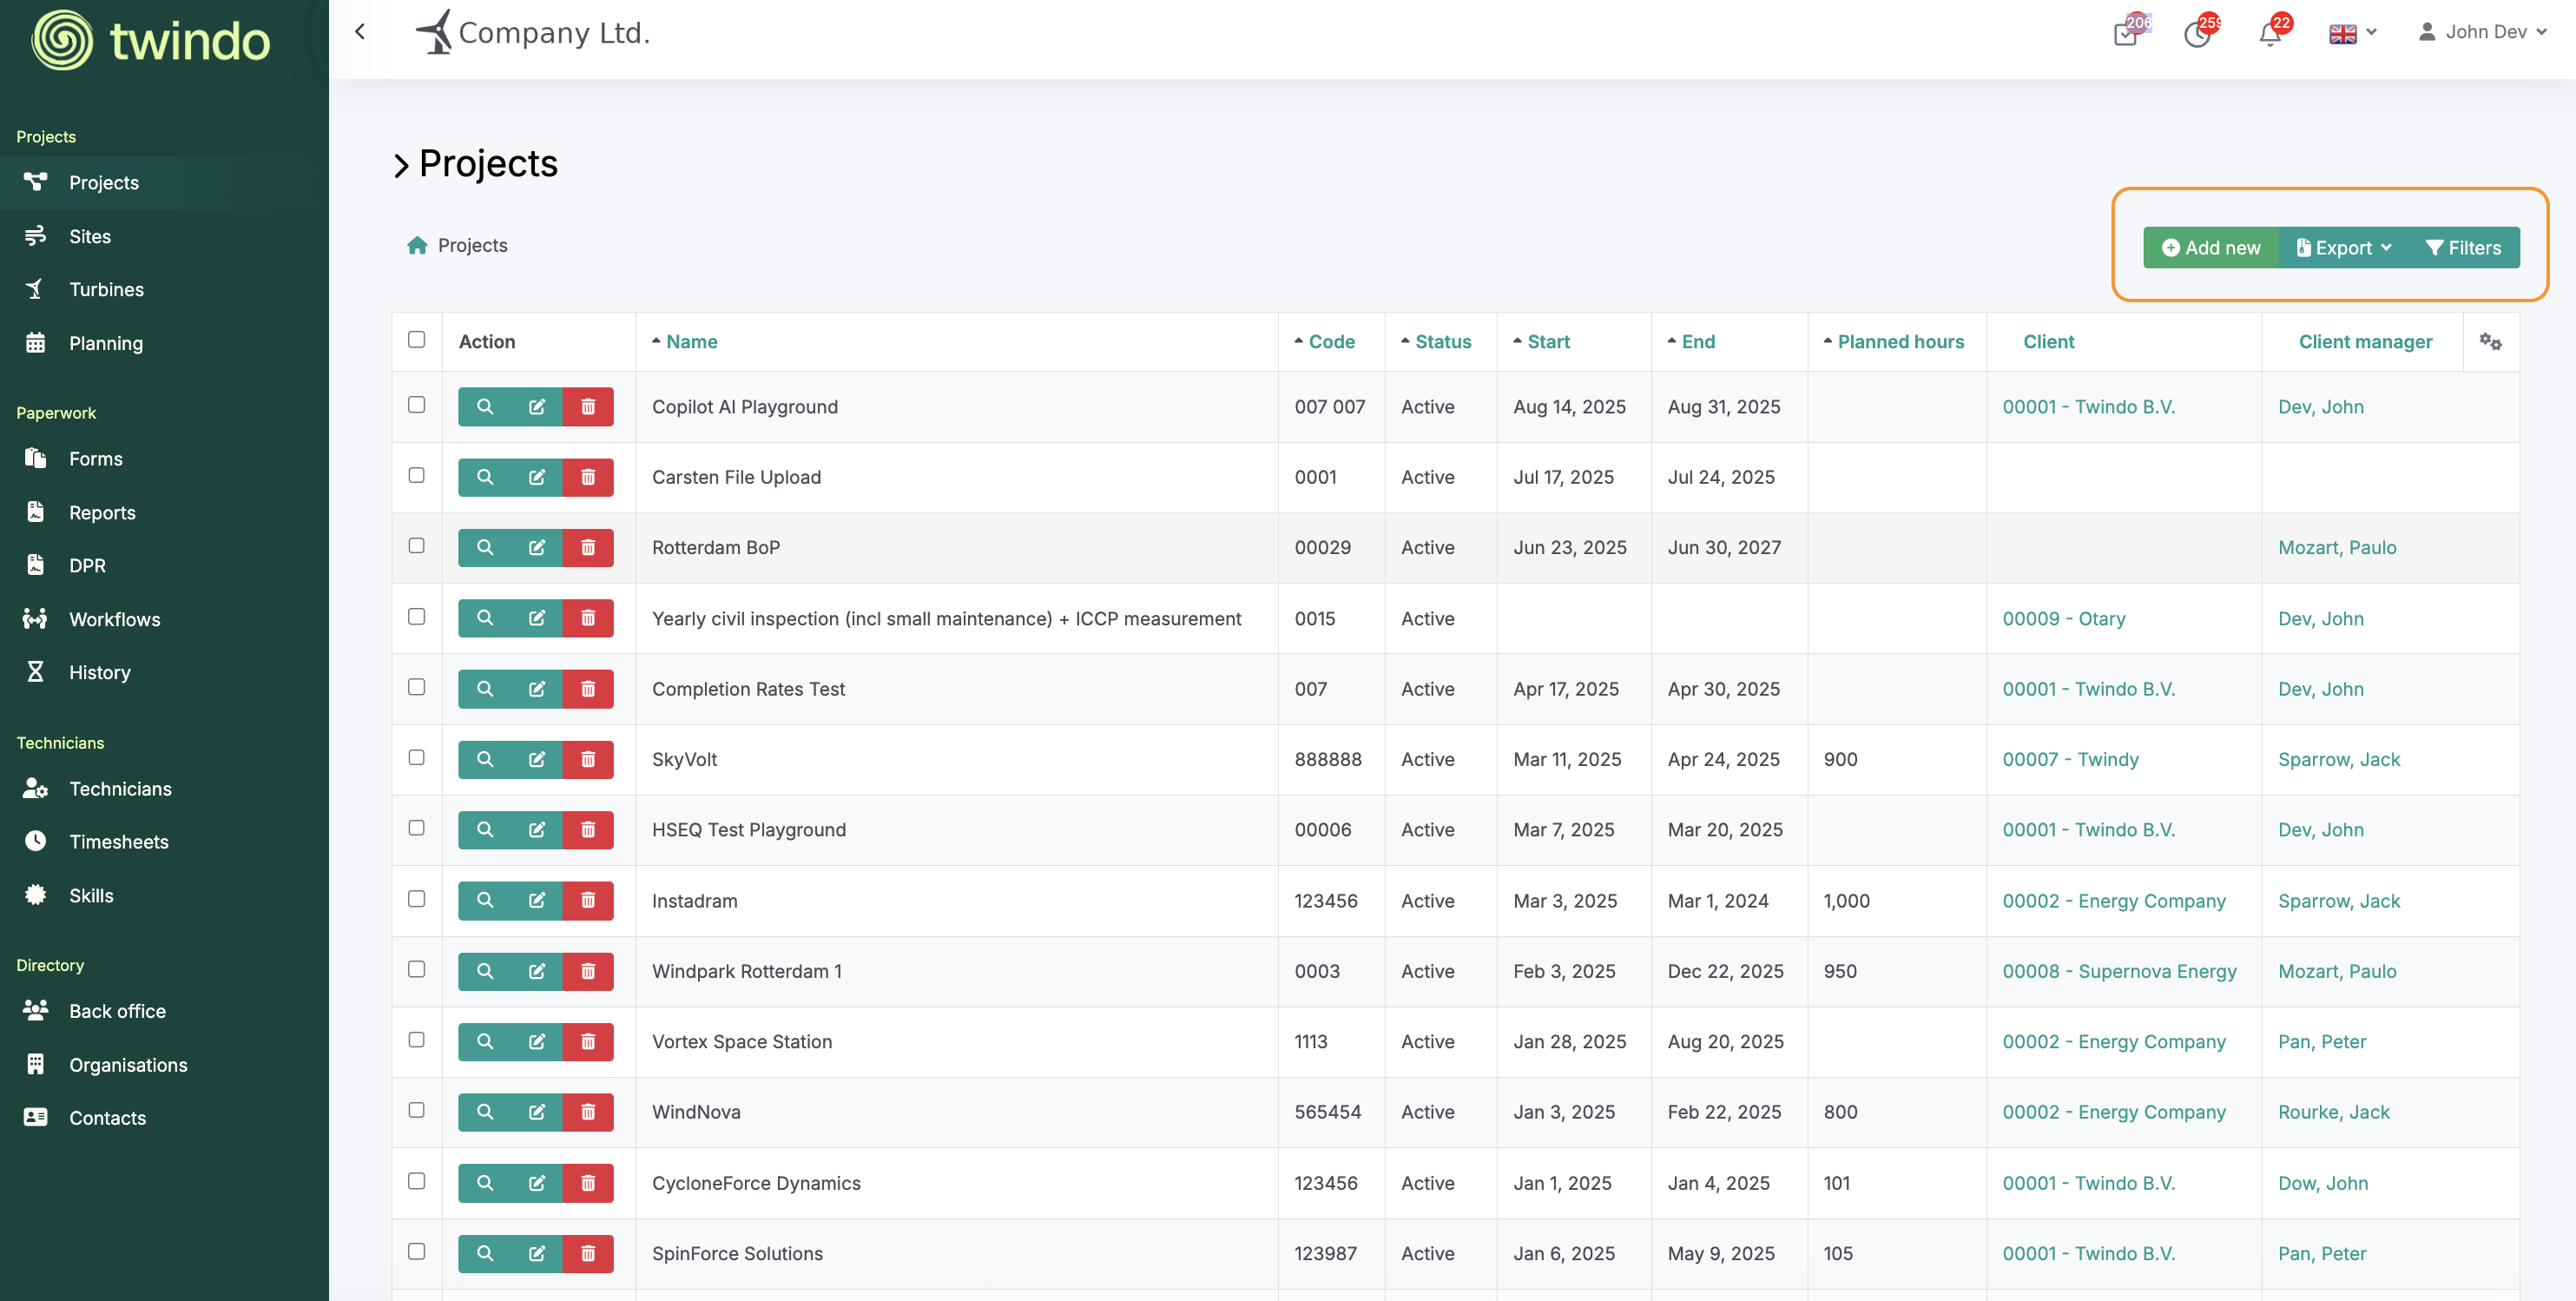
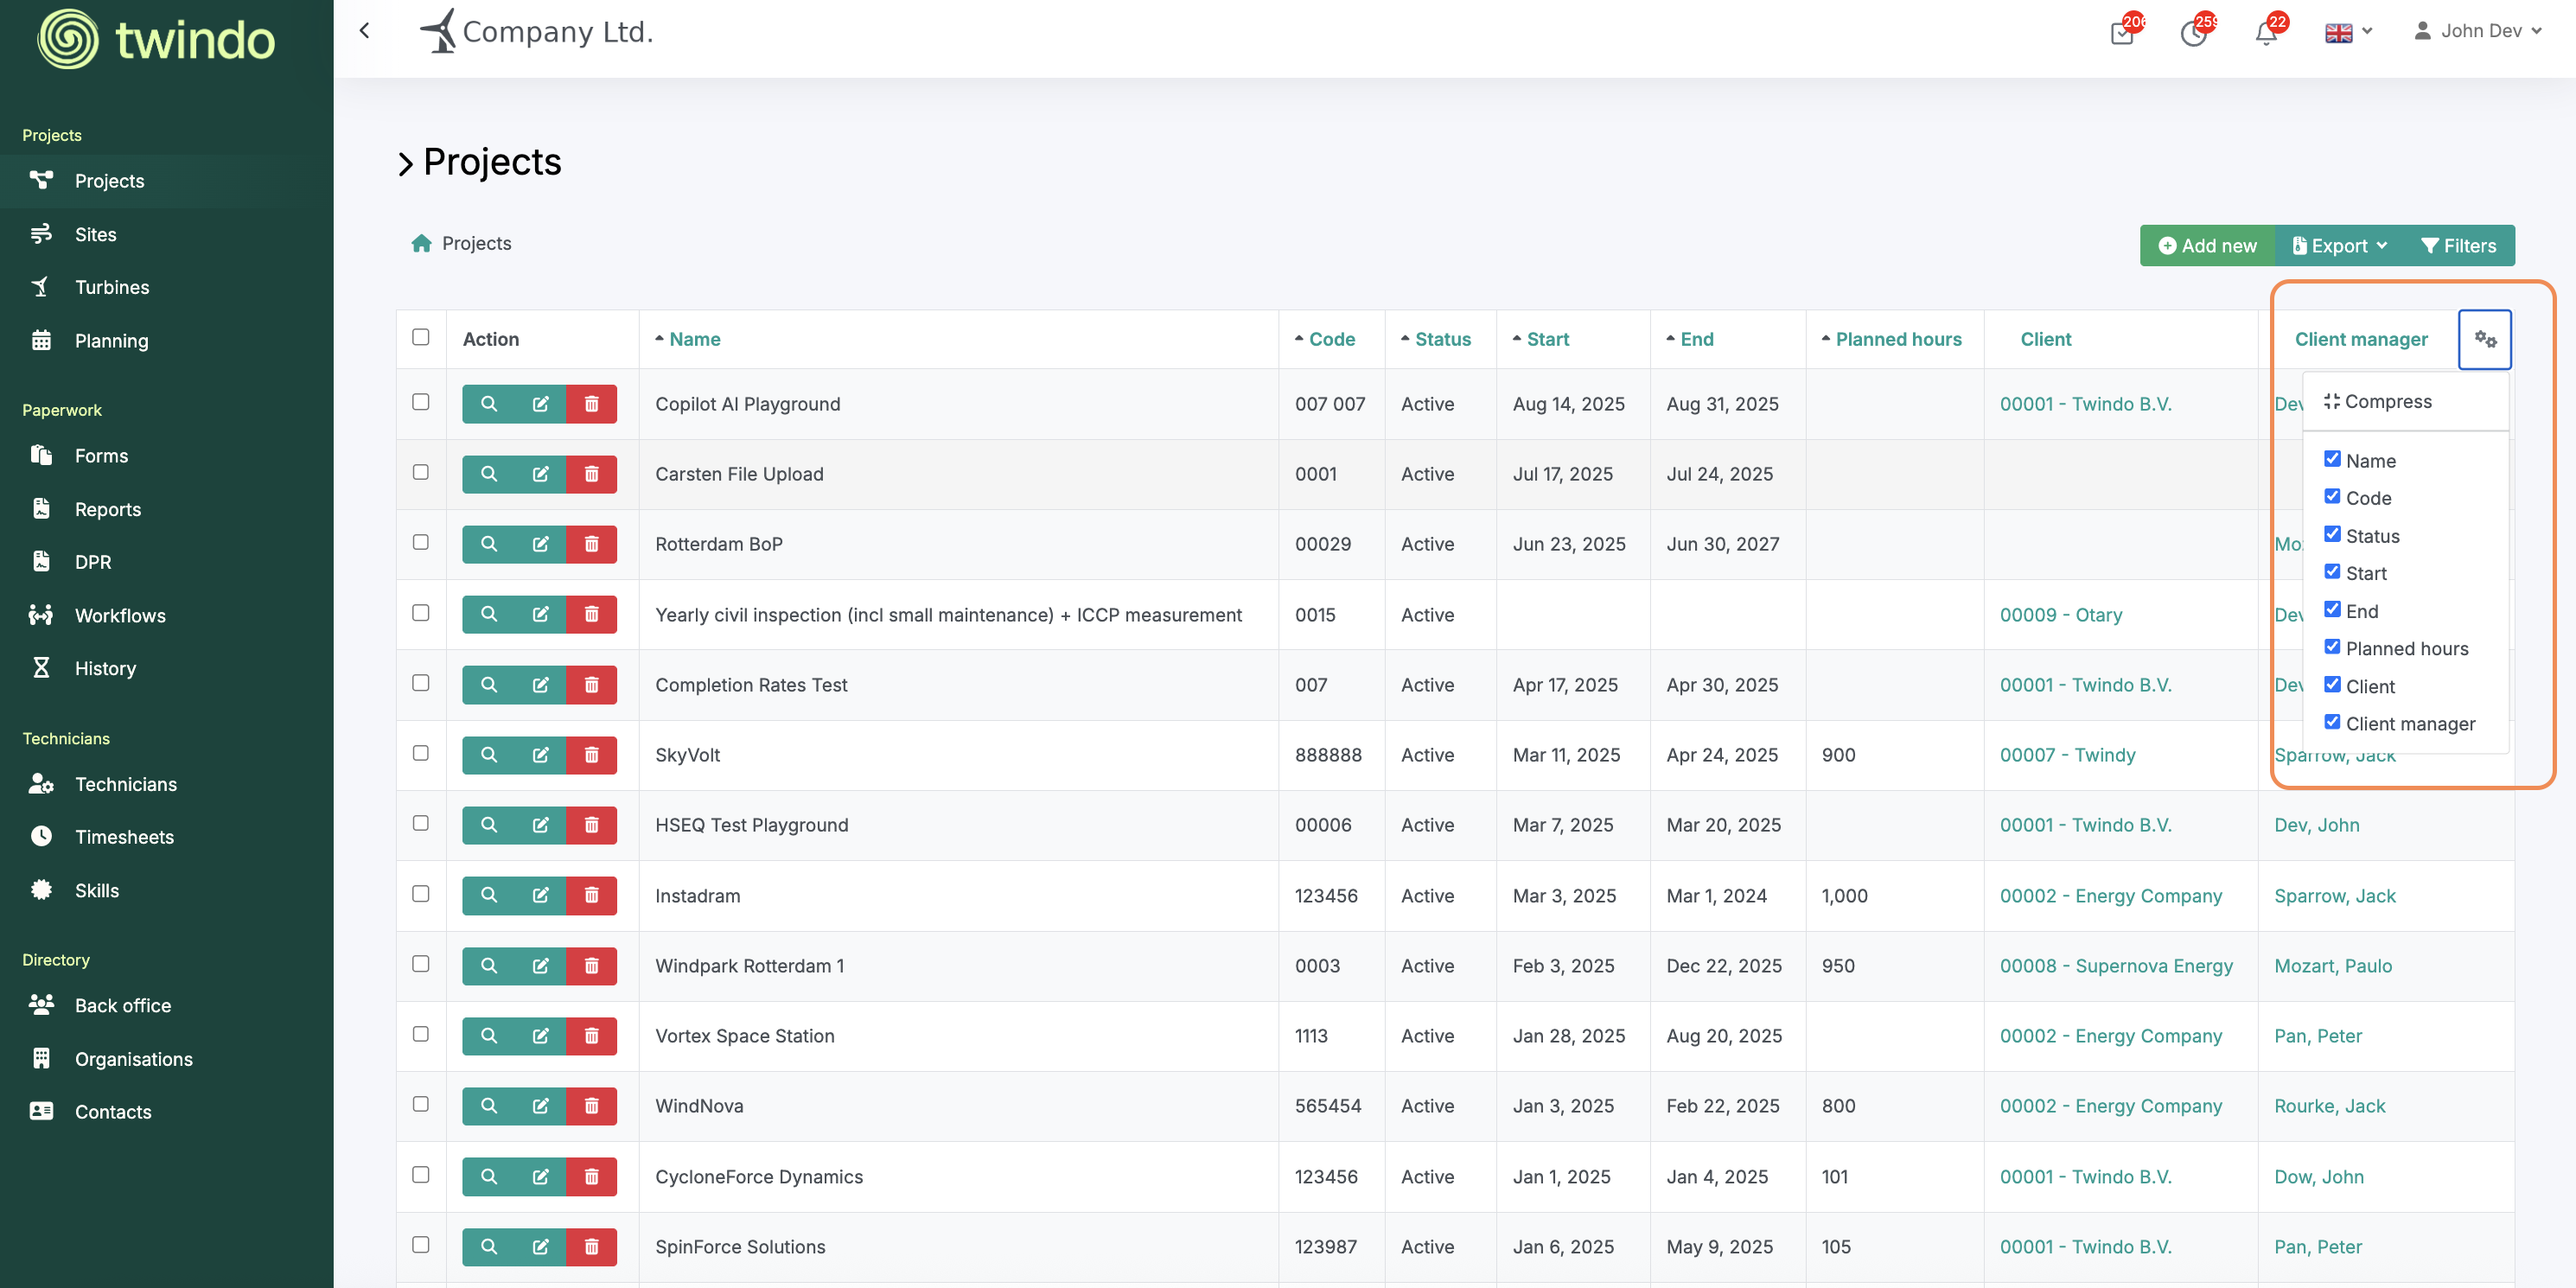
Table Column Settings
You can customize which columns appear in any table view to match your workflow and preferences.
To format table columns:
Click the Settings button (displayed as two cog icons) in the table header.
Select or deselect the columns you want to display.
Your table will update instantly to reflect your chosen view.
This allows you to focus on the most relevant data while keeping your workspace clean and efficient.
Batch Actions
Batch actions let you perform multiple operations at once, saving time when managing large data sets.
Available Actions
- Delete: Batch deletion is available across all table lists.
- Export: Batch export actions are available for Reports, Timesheets, and Daily Progress Reports (DPRs).
Export Options
Export to XLSX: Generates an Excel spreadsheet containing your selected data. Ideal for analysis, reporting, or record-keeping. Batching reports of the same type works best to format columns.
Download to PDF: Exports selected reports or documents as individual or combined PDF files.
Download Image Files: Creates a structured folder containing only the images from selected reports. These image exports can be organized by project, site, or asset level for easy reference.

Using Filters
Filters help you quickly find the information you need or apply filtering rules to organize table data efficiently.
Filter Options
Twindo offers a wide range of filtering options across tables and reports. You can filter by:
Workflow stage.
Permission level.
Project, site, or asset location.
Date range.
And many other parameters.
Simply select the filters relevant to what you’re looking for. Your view will update instantly.
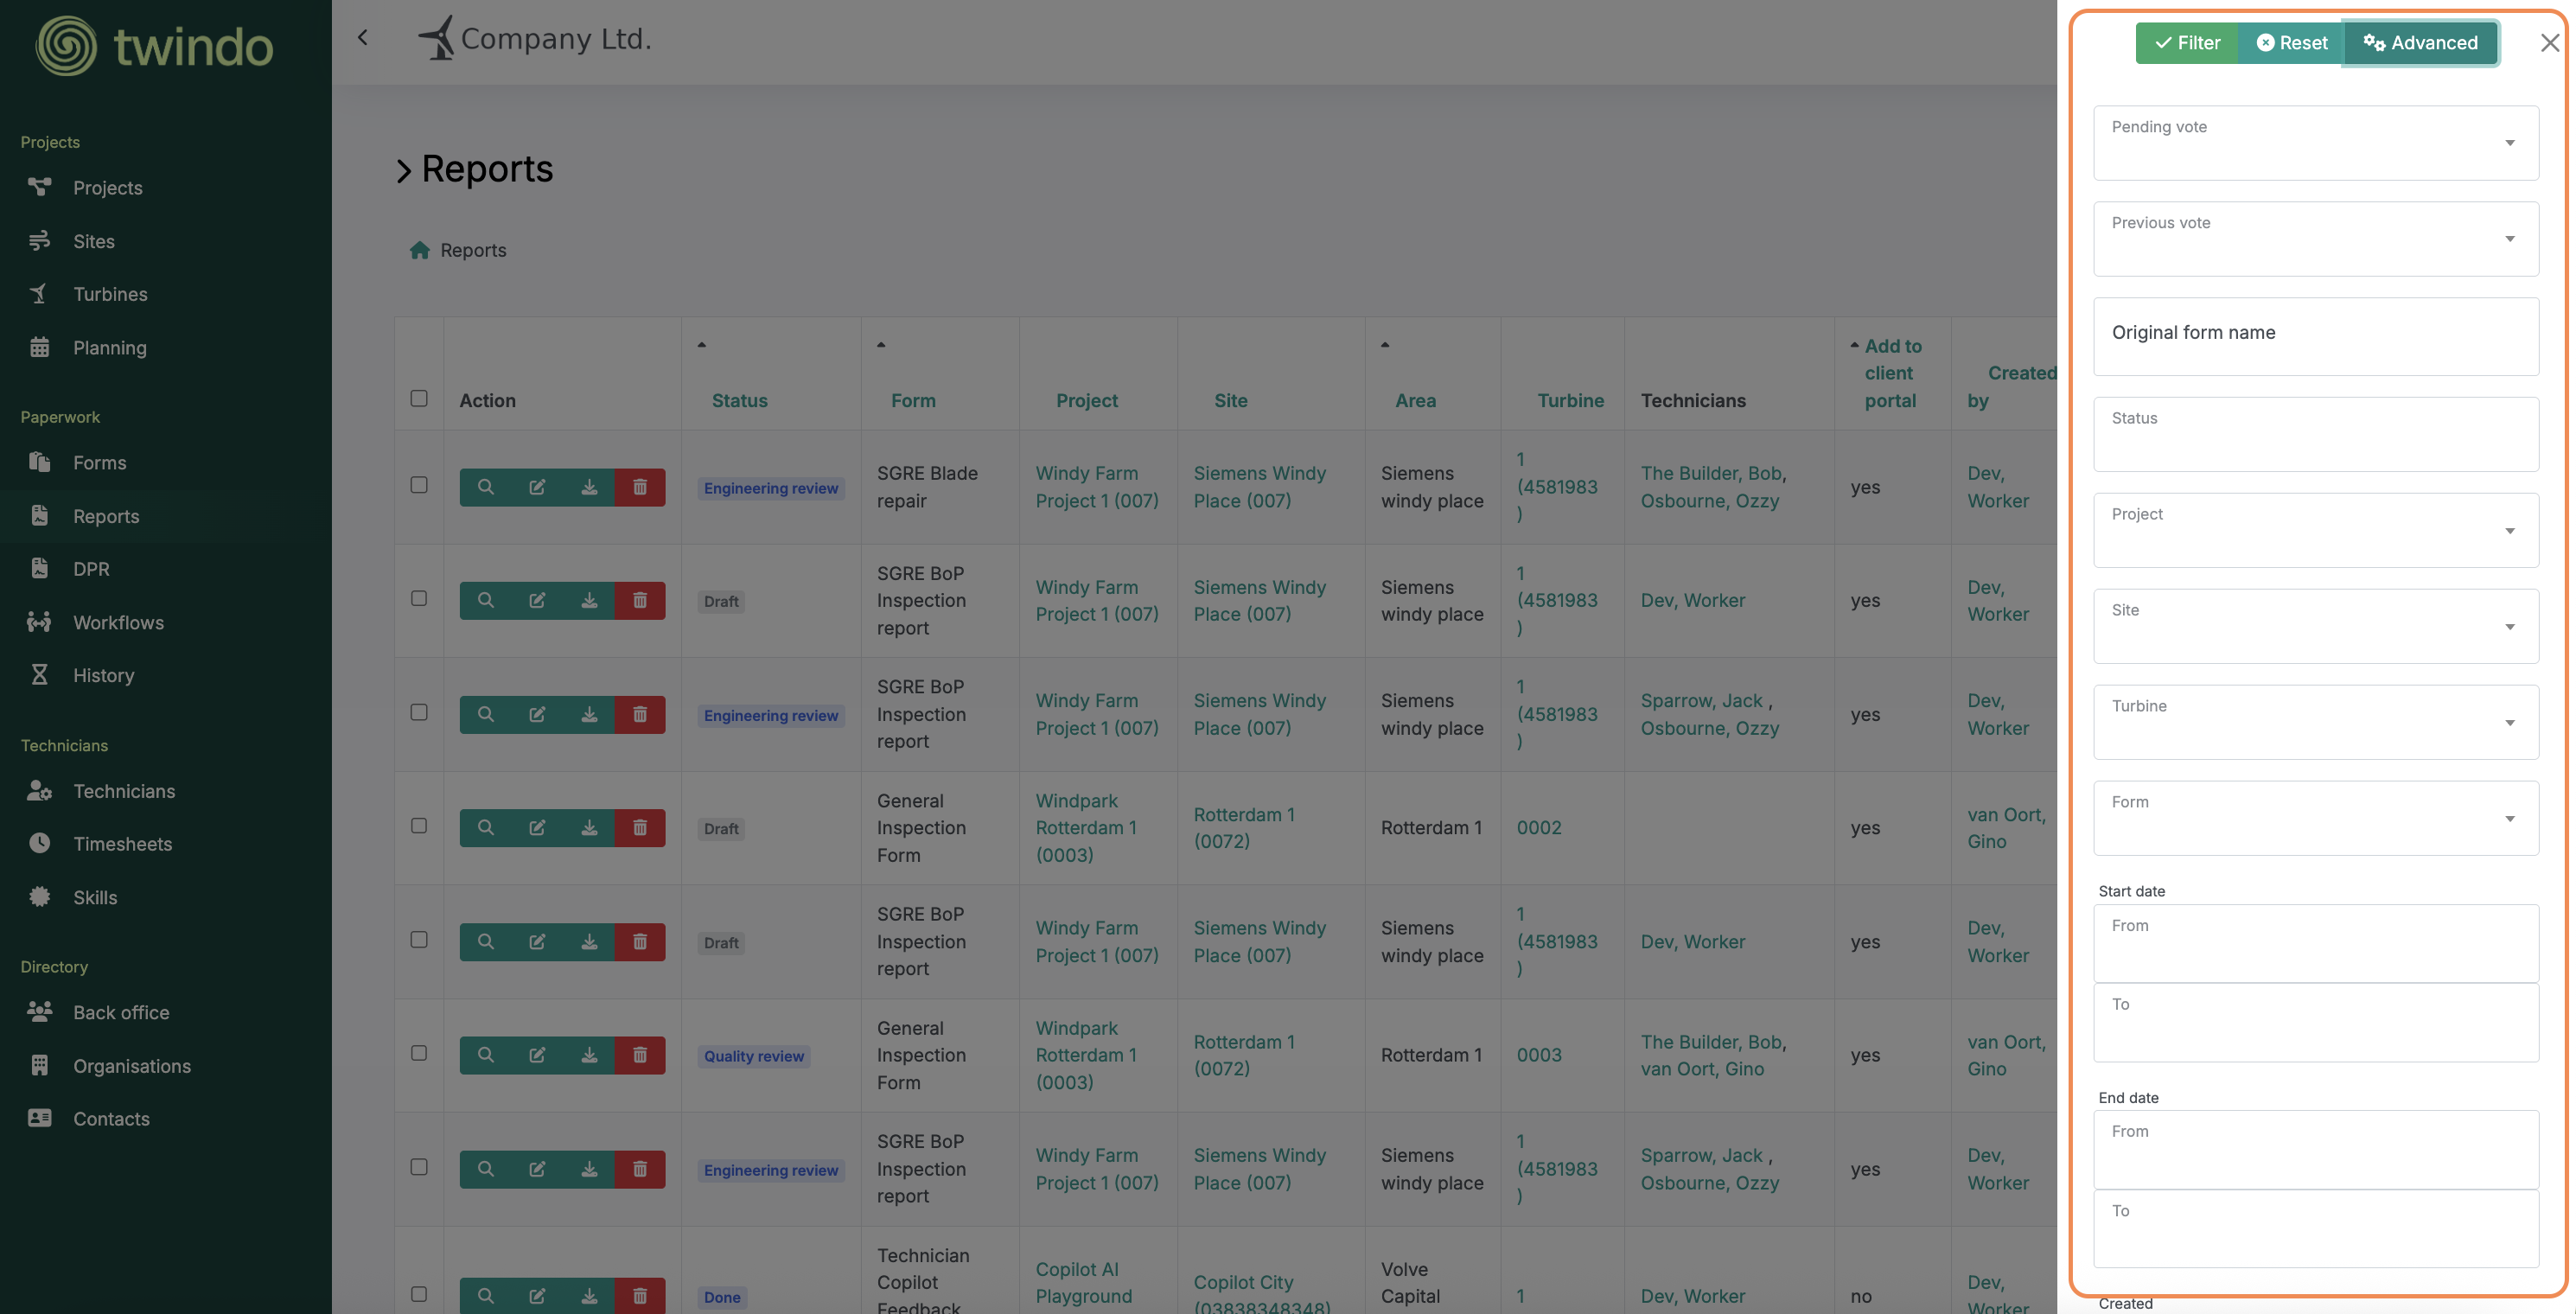
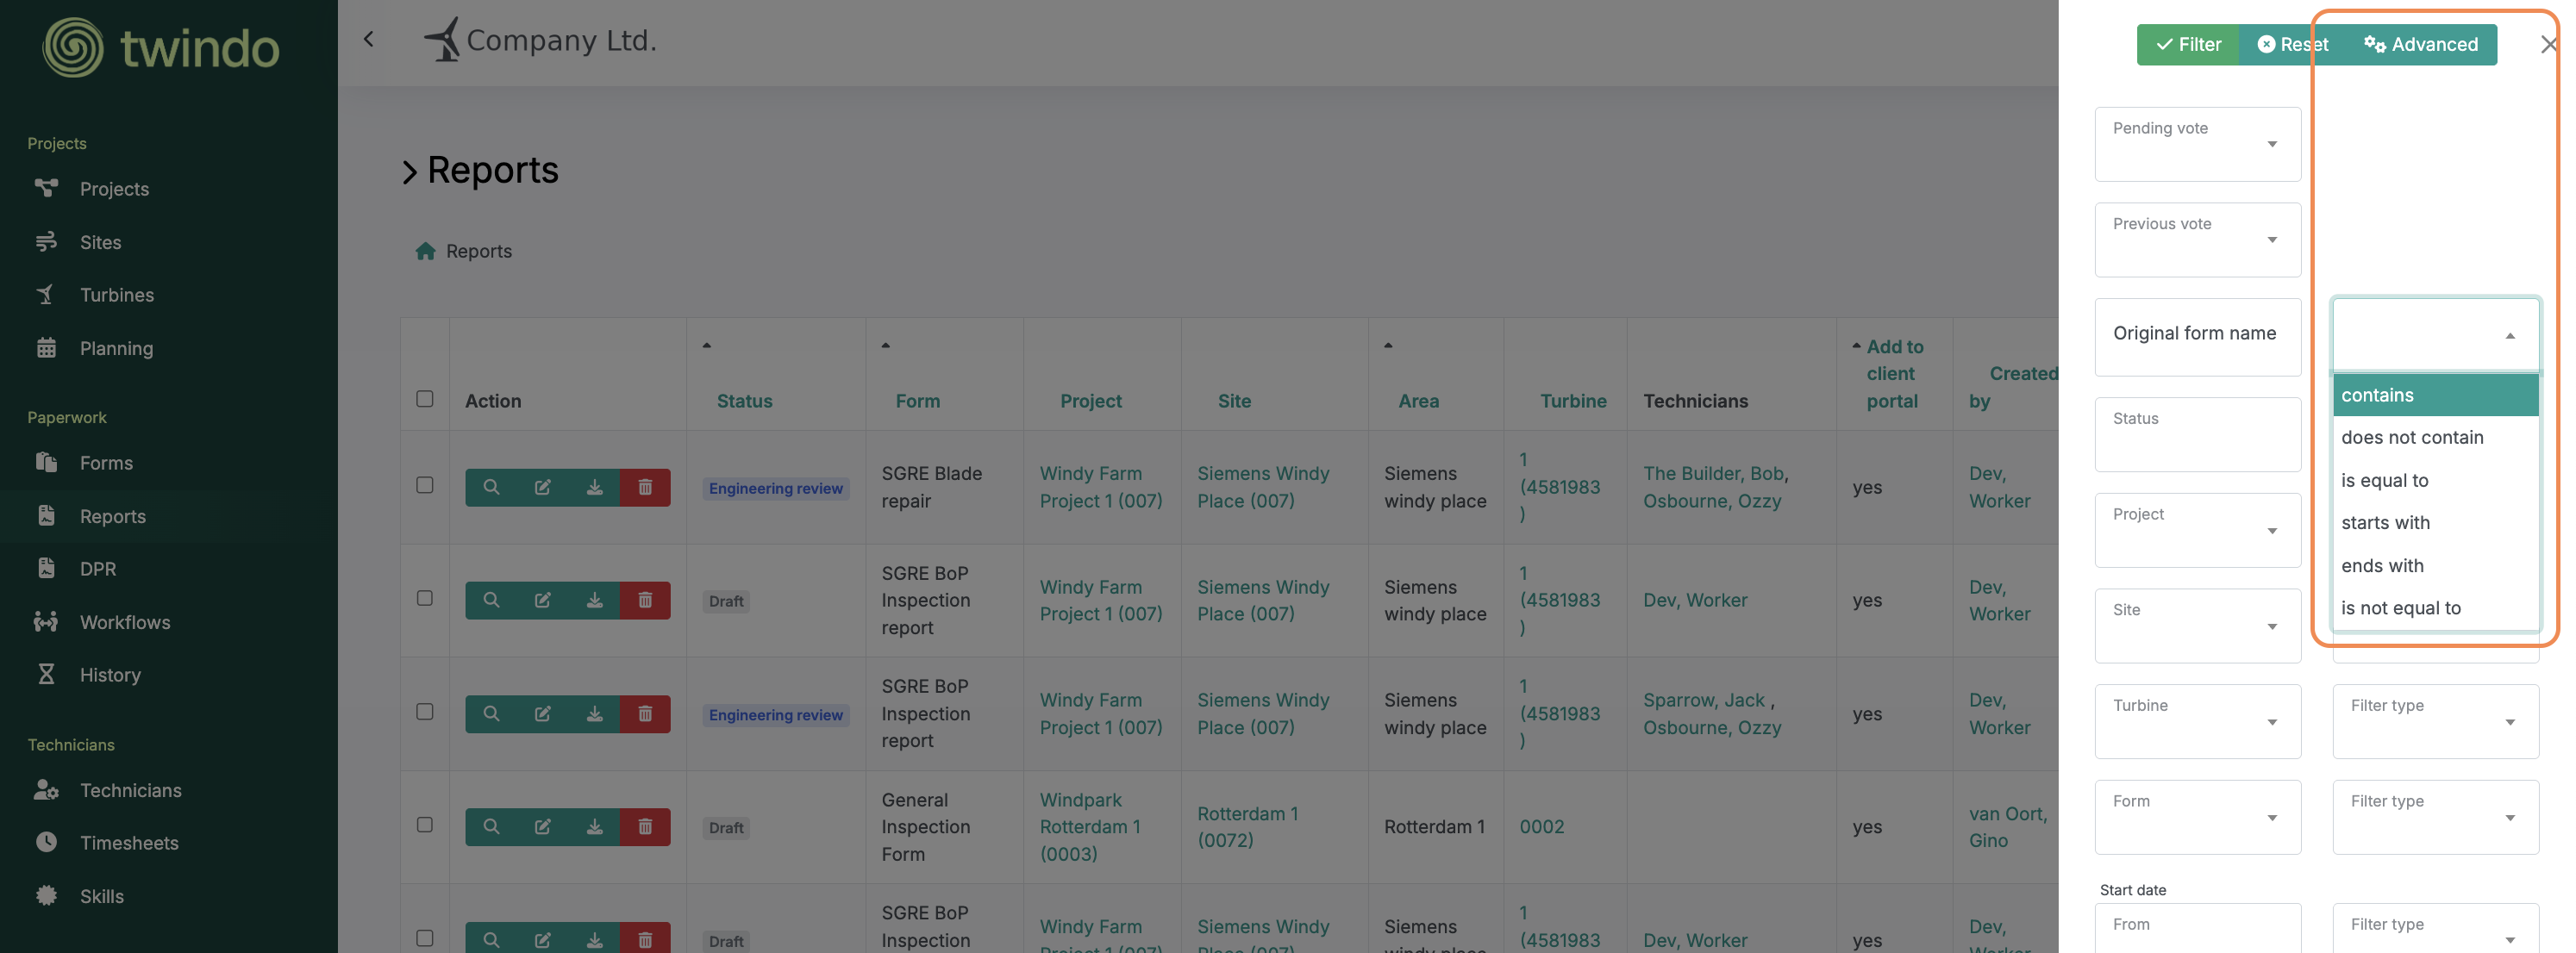
Advanced Filters
Advanced filters let you define custom rules or layer multiple filter types together. Use them when you need to narrow results further or apply conditional logic across datasets.
Show Deleted Rows
To display entries that were previously deleted, select the Show Deleted checkbox at the bottom of the filter bar.
Think of this as a recovery bin; anything deleted from a table can be restored by selecting it from this view.