
Reports and checklists
Creating Reports and Checklists on Mobile
Filling out reports and checklists in Twindo works seamlessly, even when you’re offline. Follow these steps to get started:
Offline capability ensures technicians can complete documentation anywhere, worksites, remote areas, or during network downtime, without losing data.
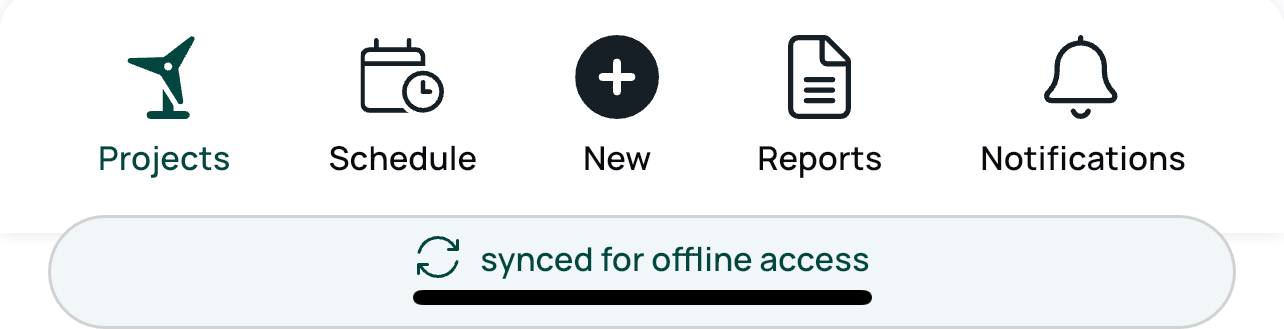
Tap the New button located in the bottom menu bar to start a new report.
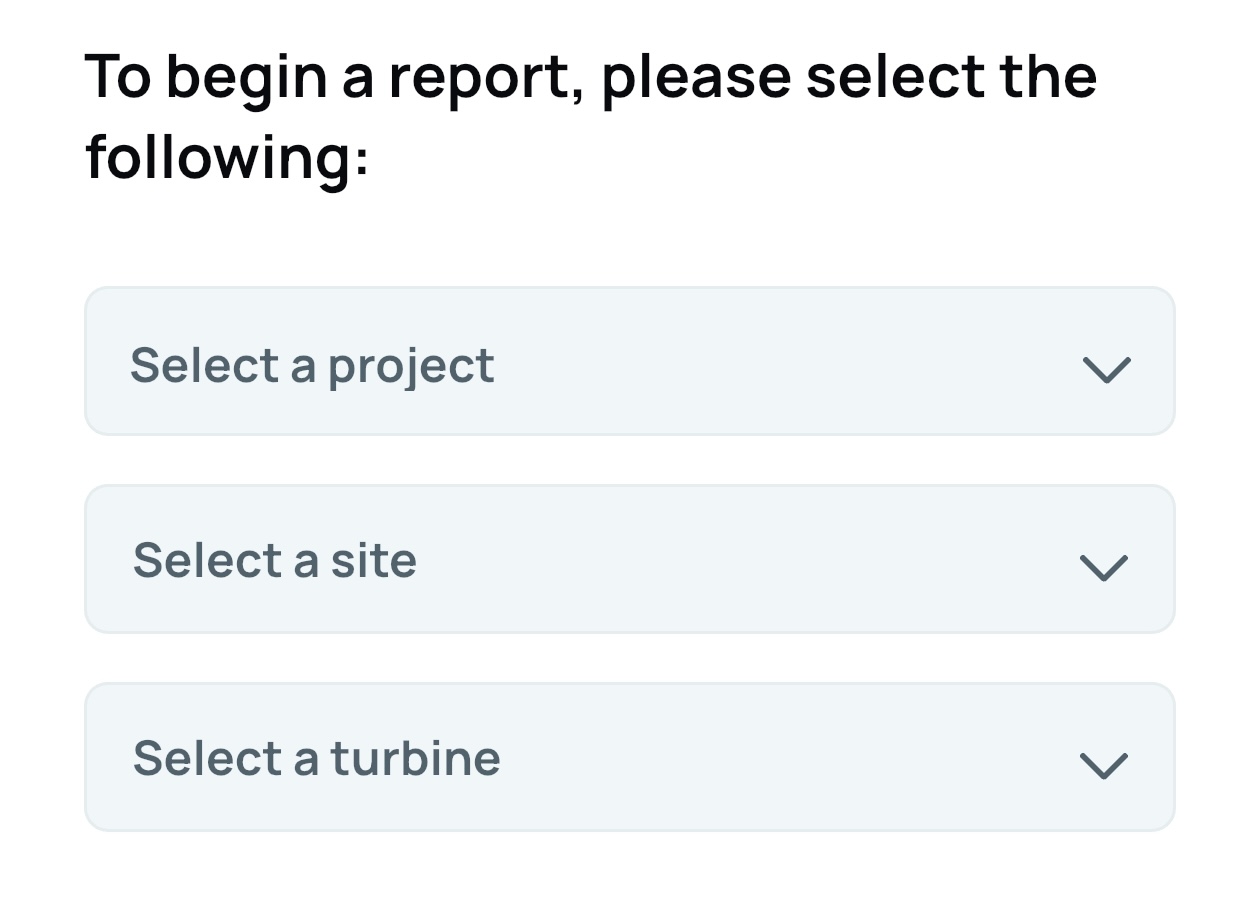
Then select the target location which connects the data and prevents the user filling reports to type in manually these locations. A minimum of a project is required to make a report, but it is recommended that users select the specific site and asset (turbine) as well. Data will only be automated at the site or asset level if it is selected here.
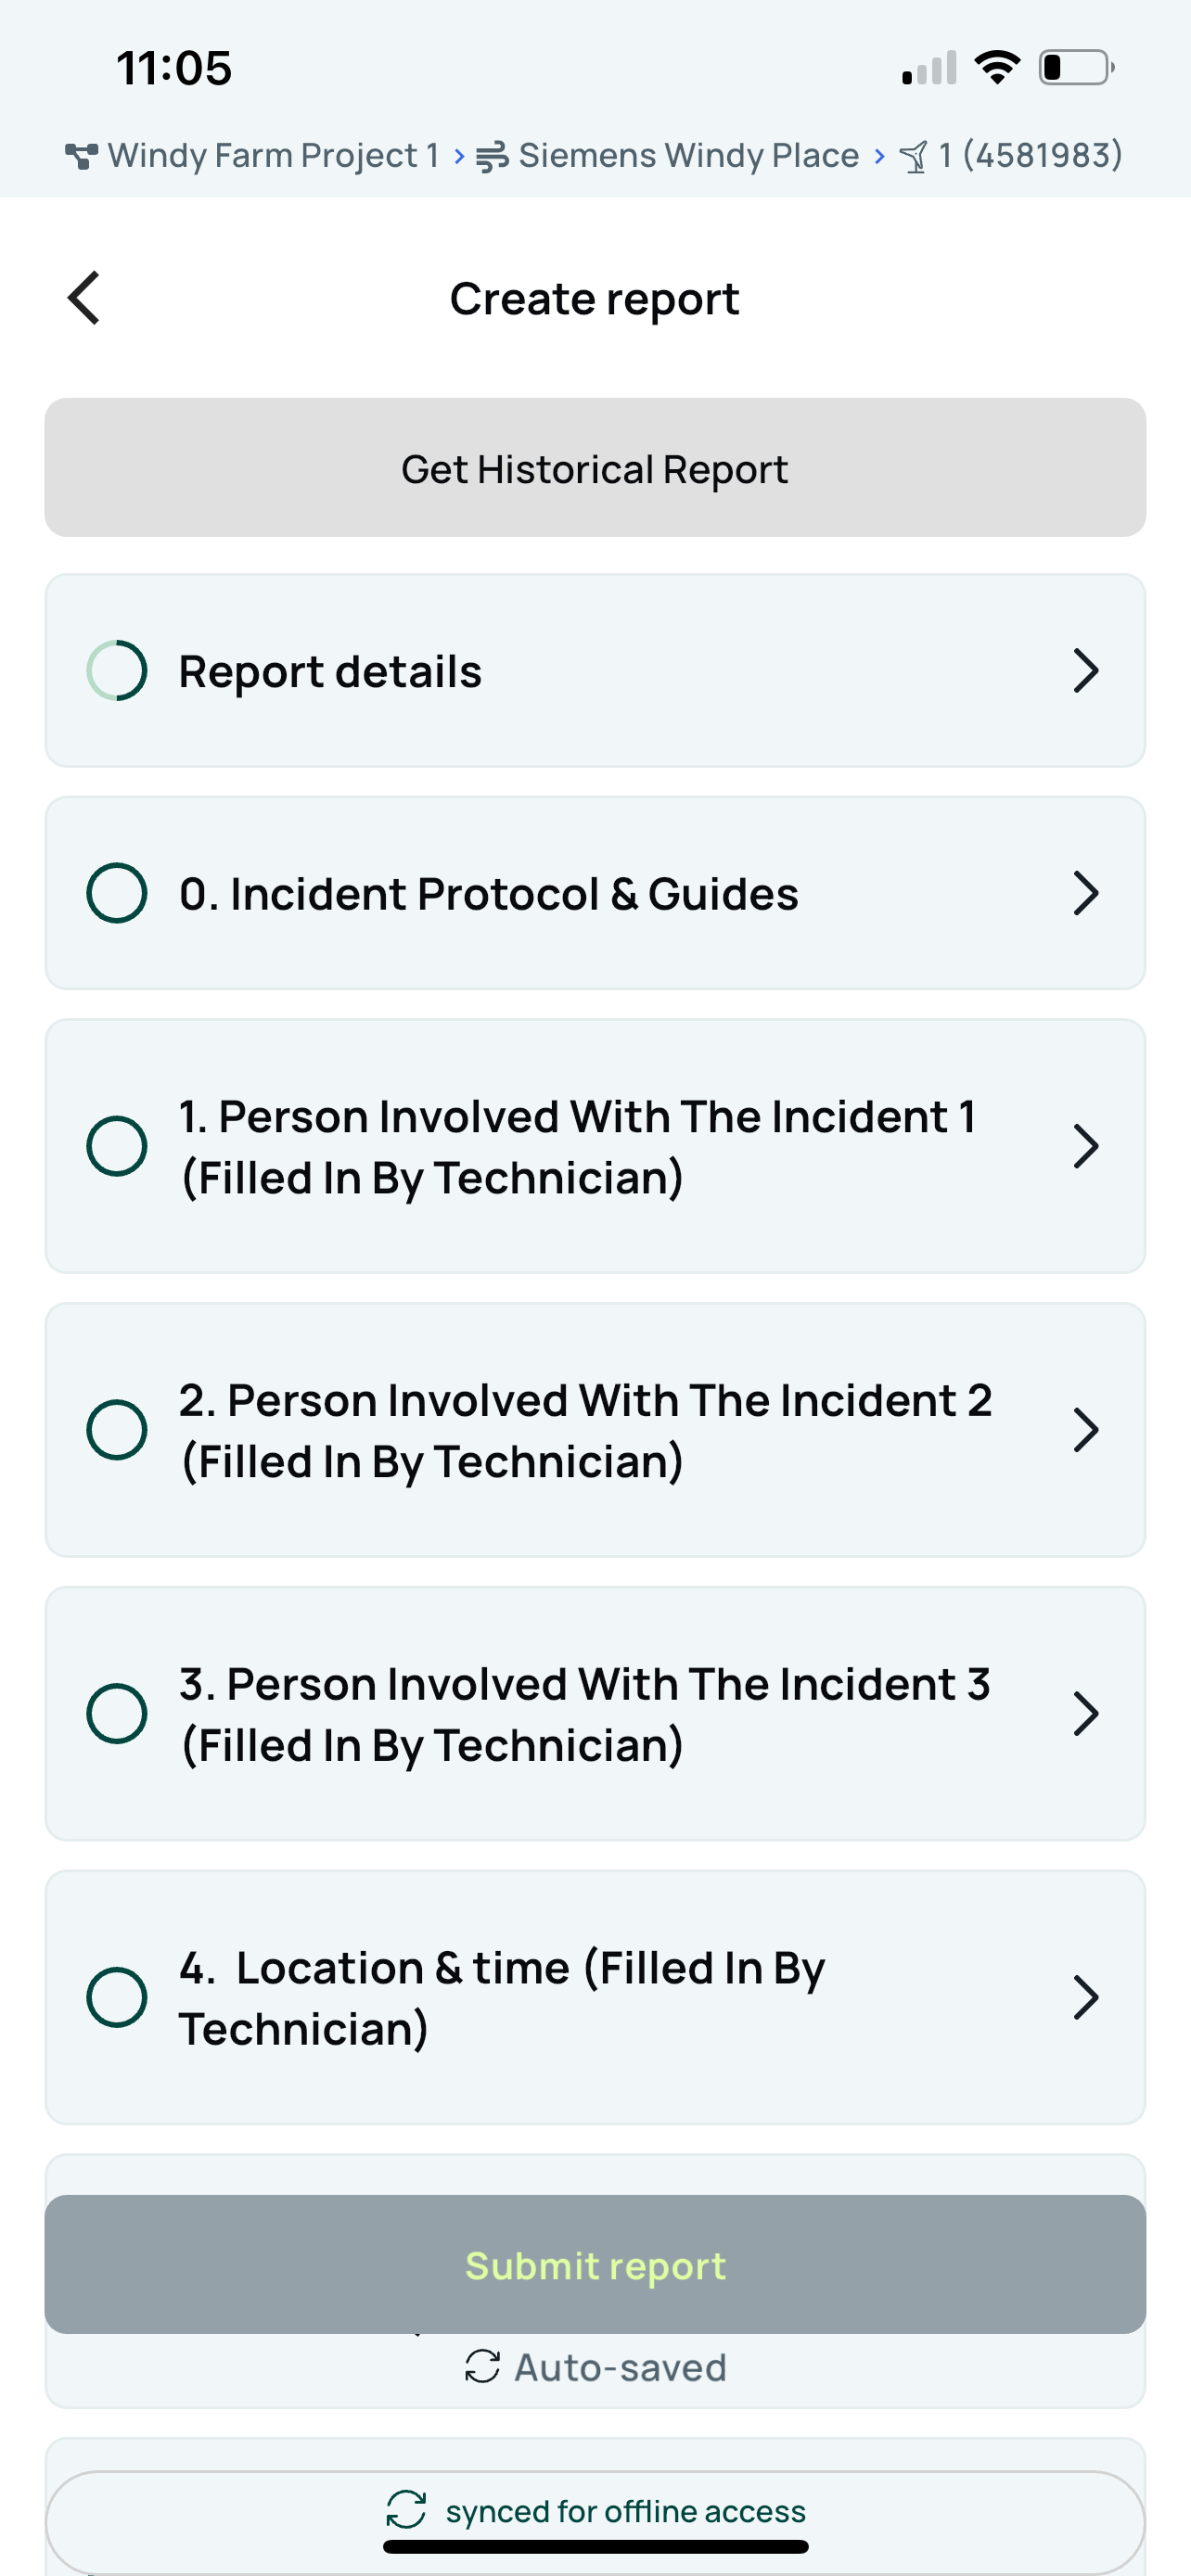
Select the report or checklist you want to fill in by tapping its name on the form selection screen. This opens the form navigation view for that specific report.
The Form navigation screen shows:
- Historical report data to support comparative decision making.
- A section list for the form; tap any section to start filling it.
At the top of the section list you will see Get Historical Report. Selecting this option fetches previous answers for the same form and location combination. Fetching historical data requires an internet connection, but once loaded it remains available offline.
After fetching, you can choose which historical report to use by tapping Change in the Get Historical Report area and selecting the desired version. Historical answers are then visible inside the form fields; tap the blue View previous response text to see them.
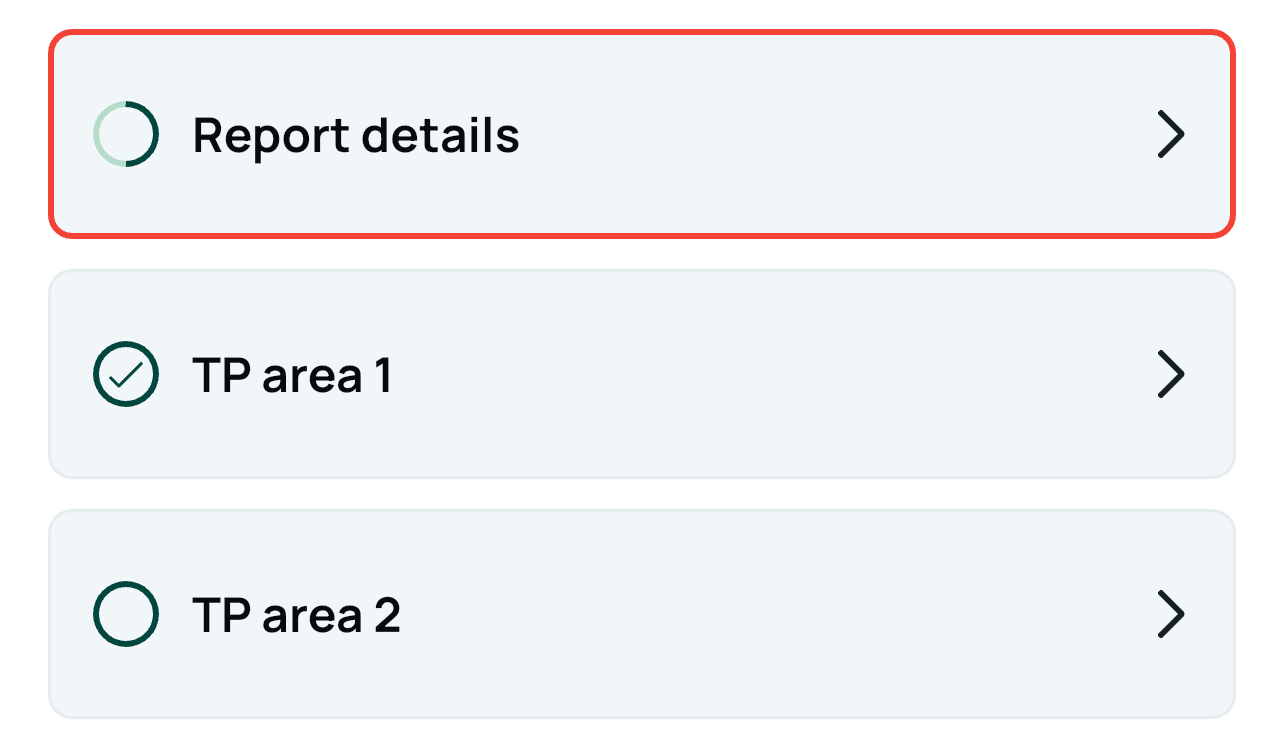
In the form overview, each form section appears as a selectable item. The first section is always Report details, which defines the work start and end dates and the technicians assigned to this report.
Filling Out Reports and Checklists
Reports and checklists contain a variety of field types such as text, images, signatures, multiple choice, and checkboxes. Most are straightforward to complete.
Adding Images
You can add images directly from your device’s camera roll or capture photos live within the report.
It’s recommended to take images live as this streamlines report submission; take several shots and remove unwanted ones before submitting.
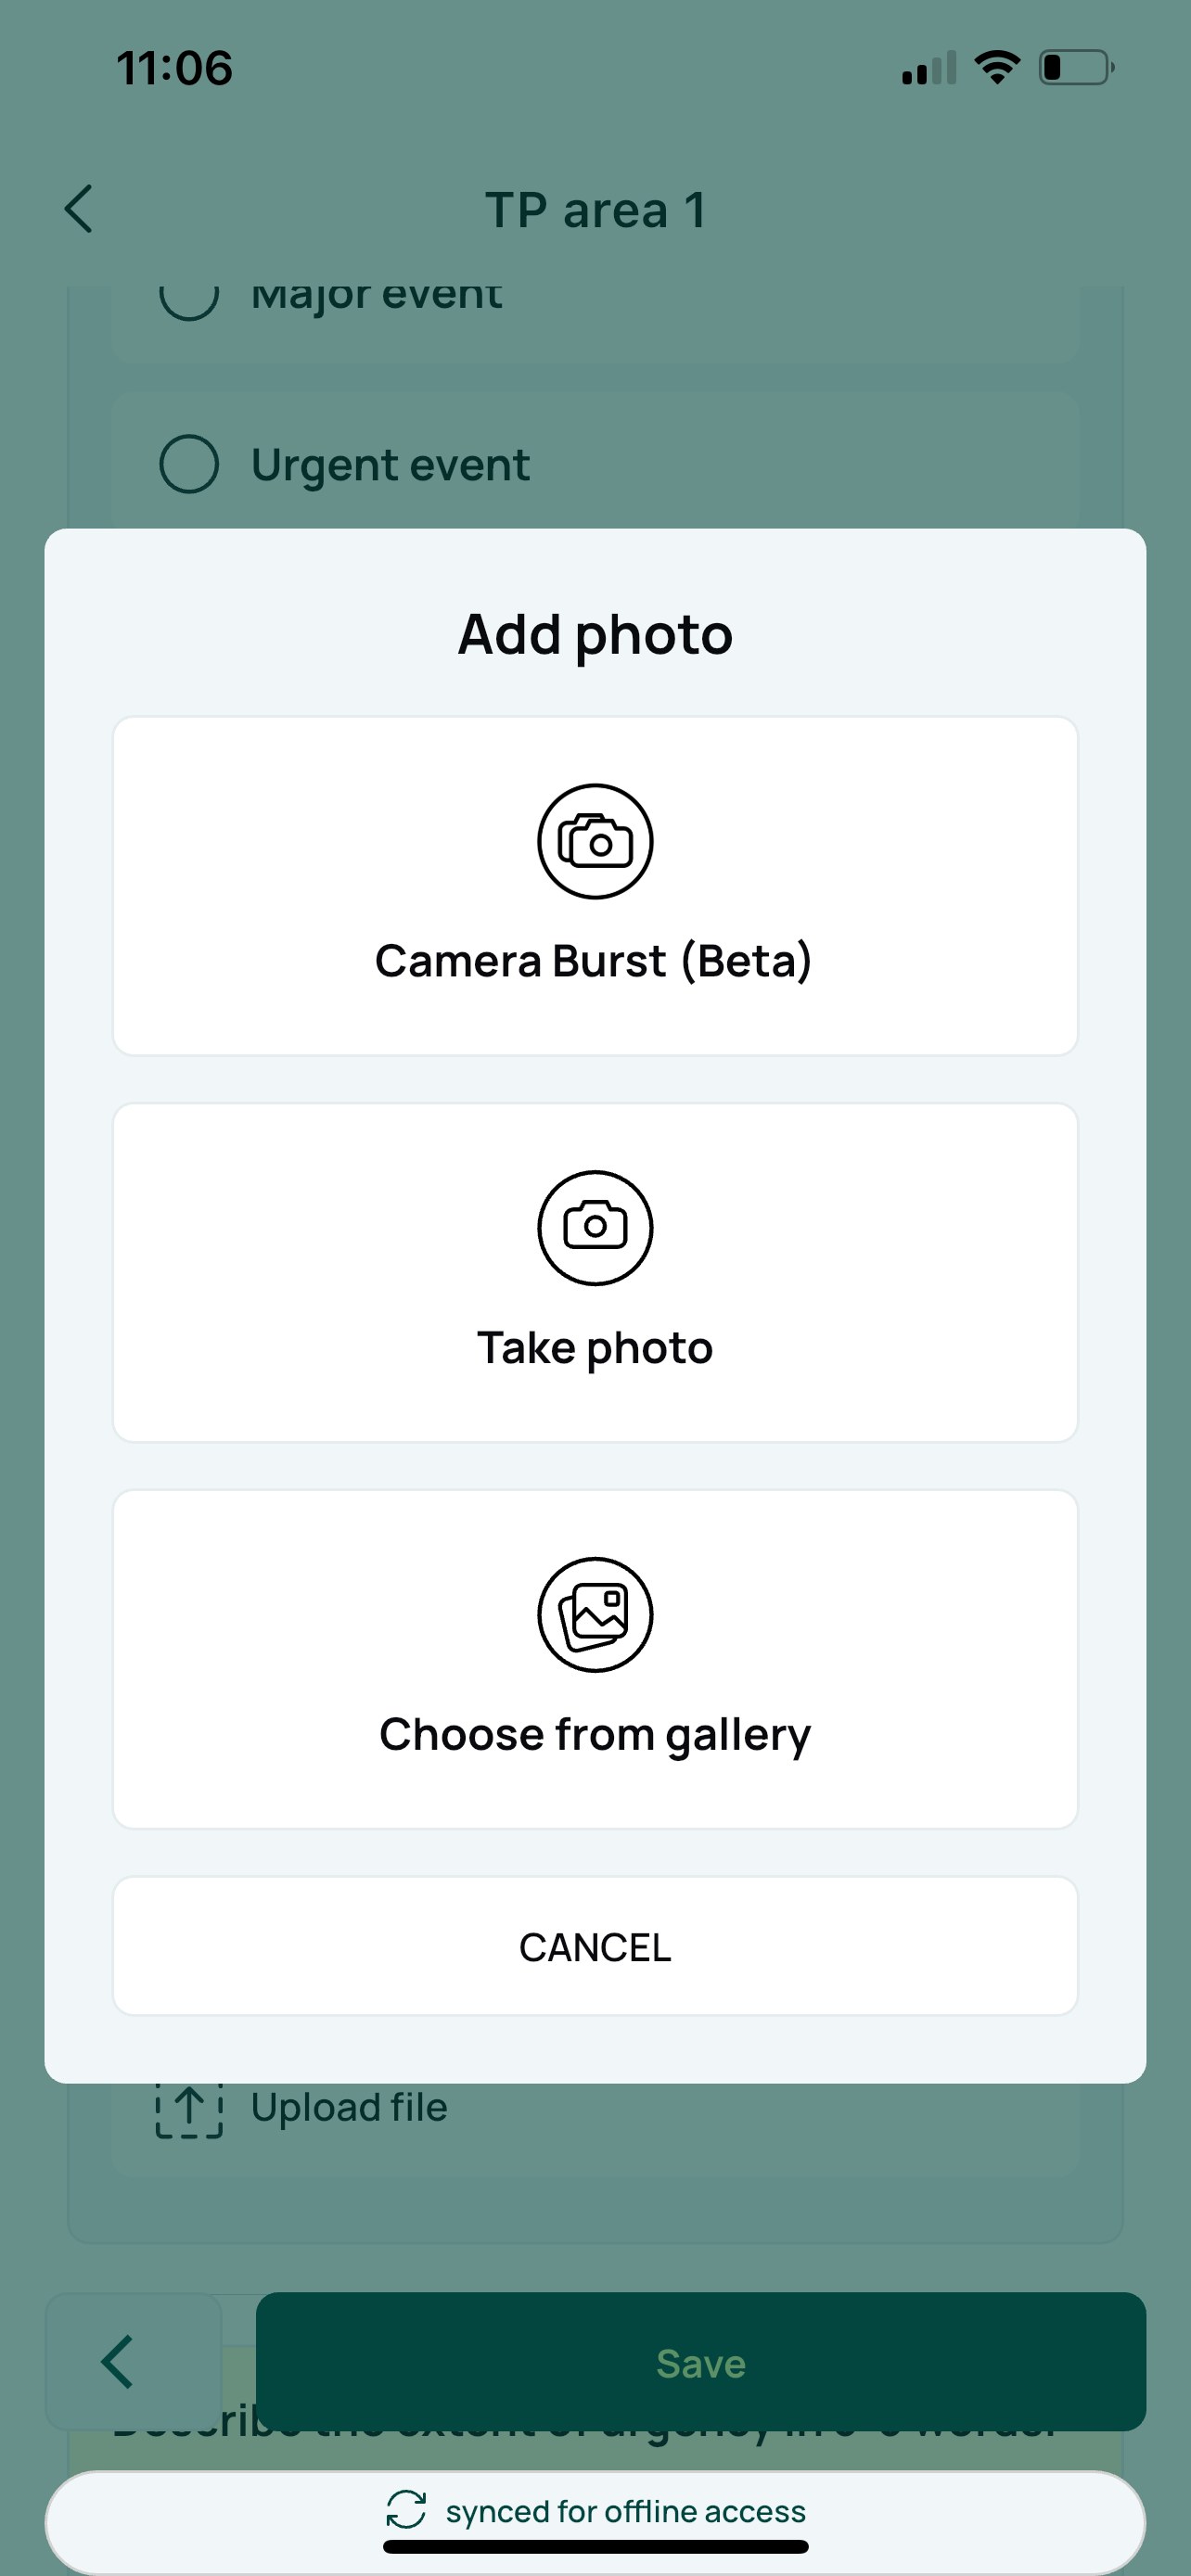
The Camera Burst feature allows you to snap multiple photos quickly without repeatedly opening the camera field.
Add comments to images if required.
After taking a photo, use the annotation tool by tapping the pen icon; draw, add text, or shapes and adjust style options. Annotation changes can be undone before saving but are permanent once saved.
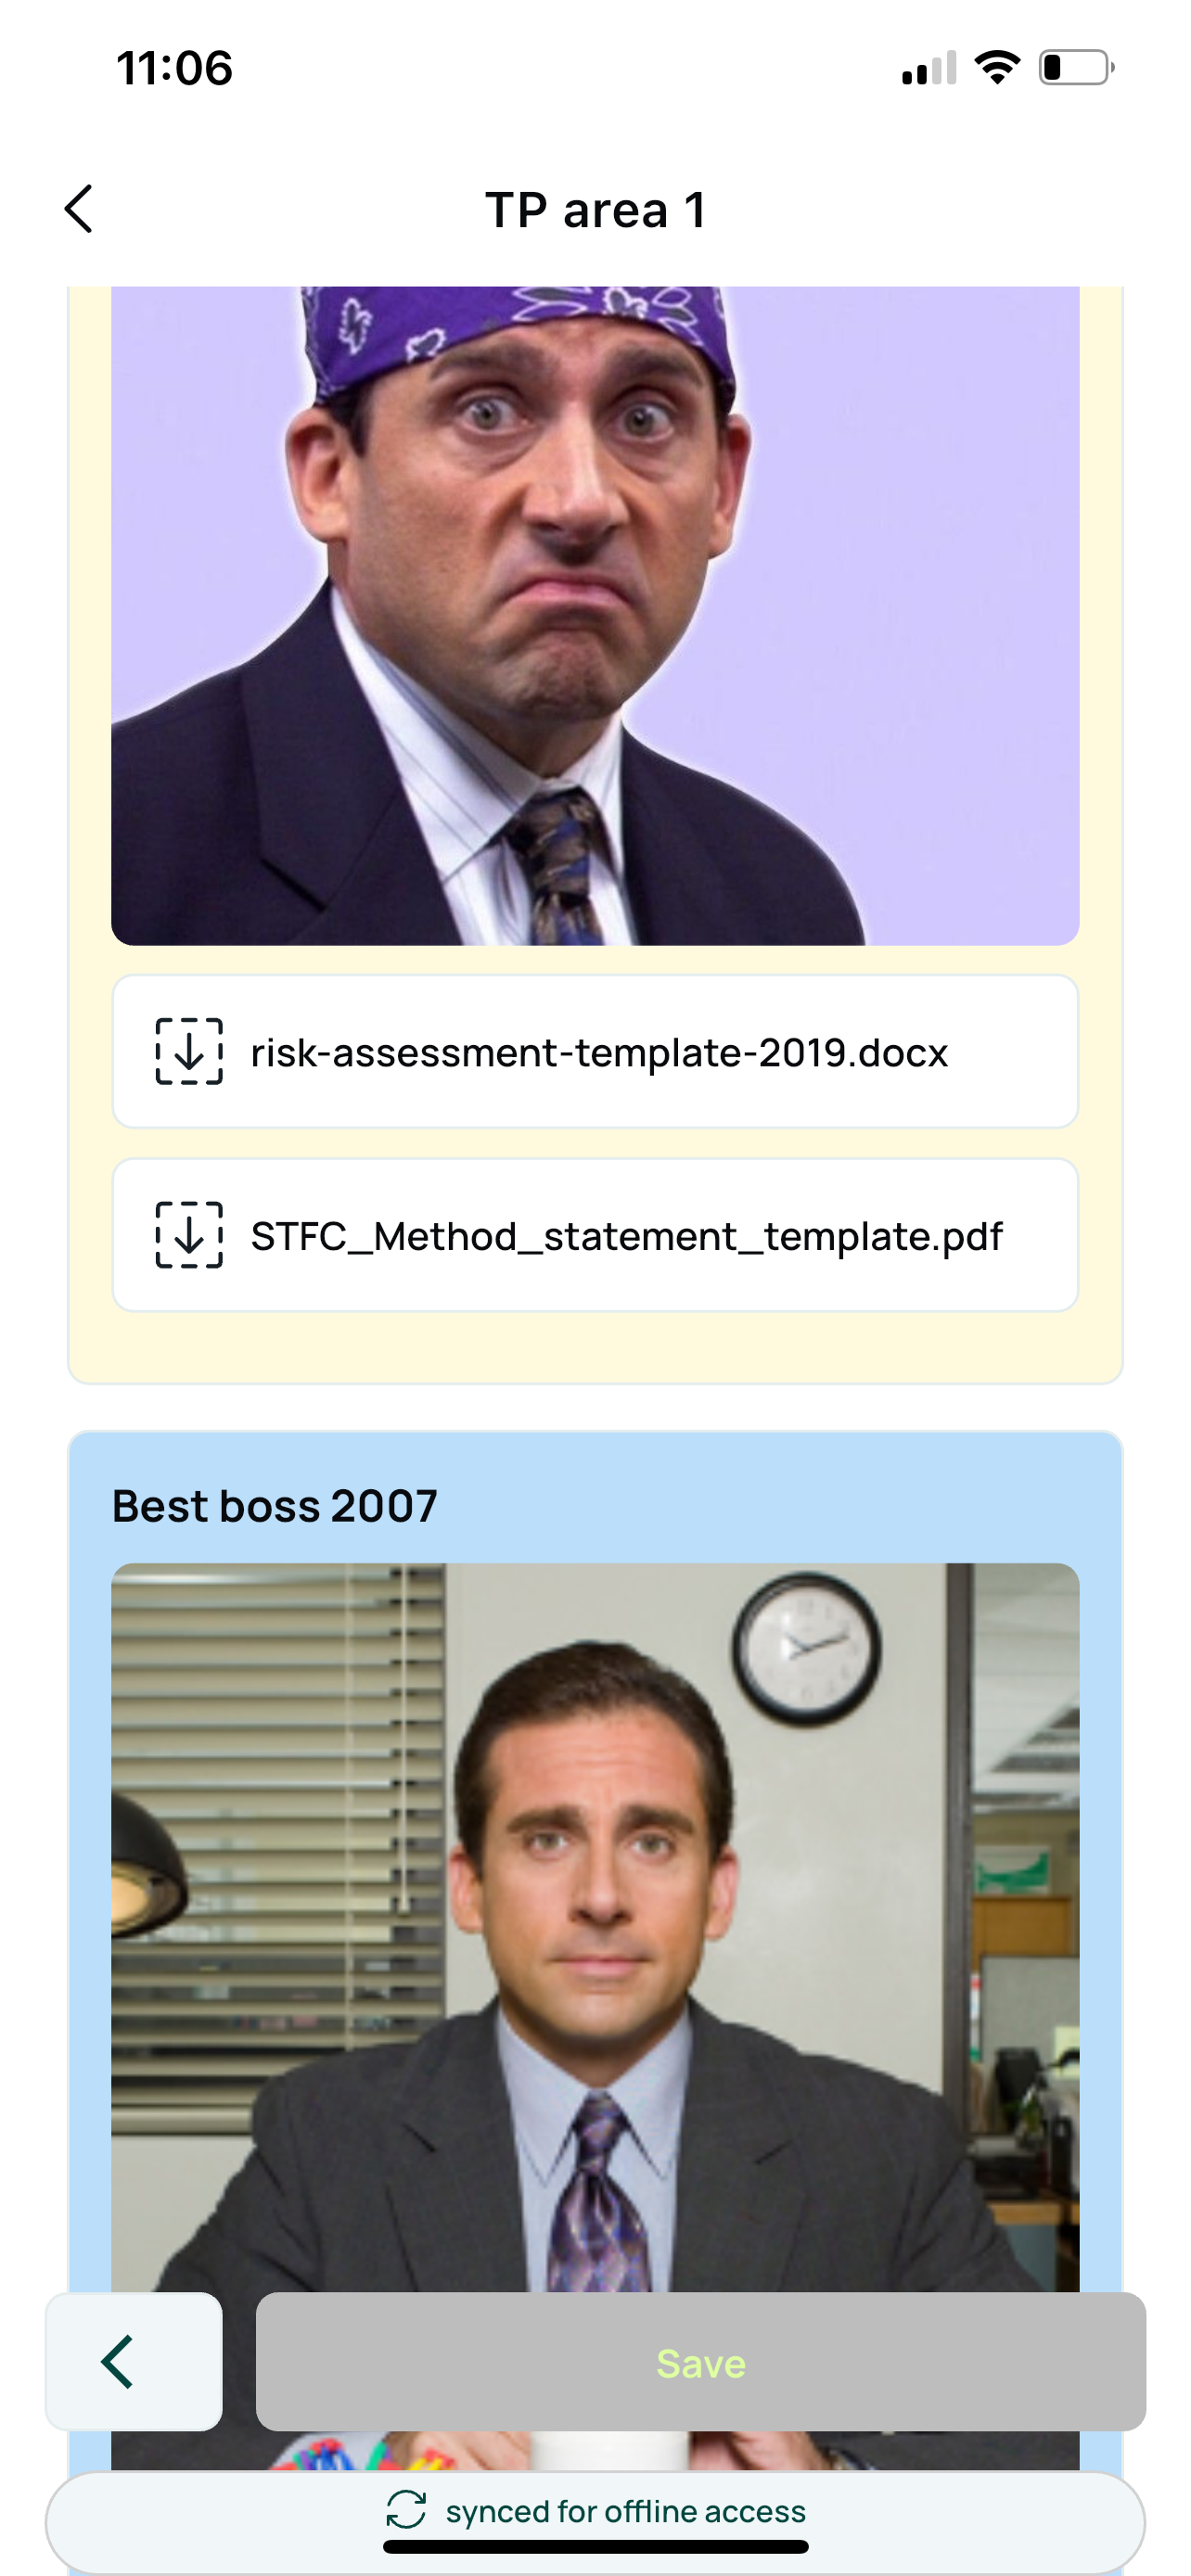
Videos and Files
Videos are supported if under 500 MB and in formats like .mp4 or .mov.
Files can be attached in over 55 standard file types.
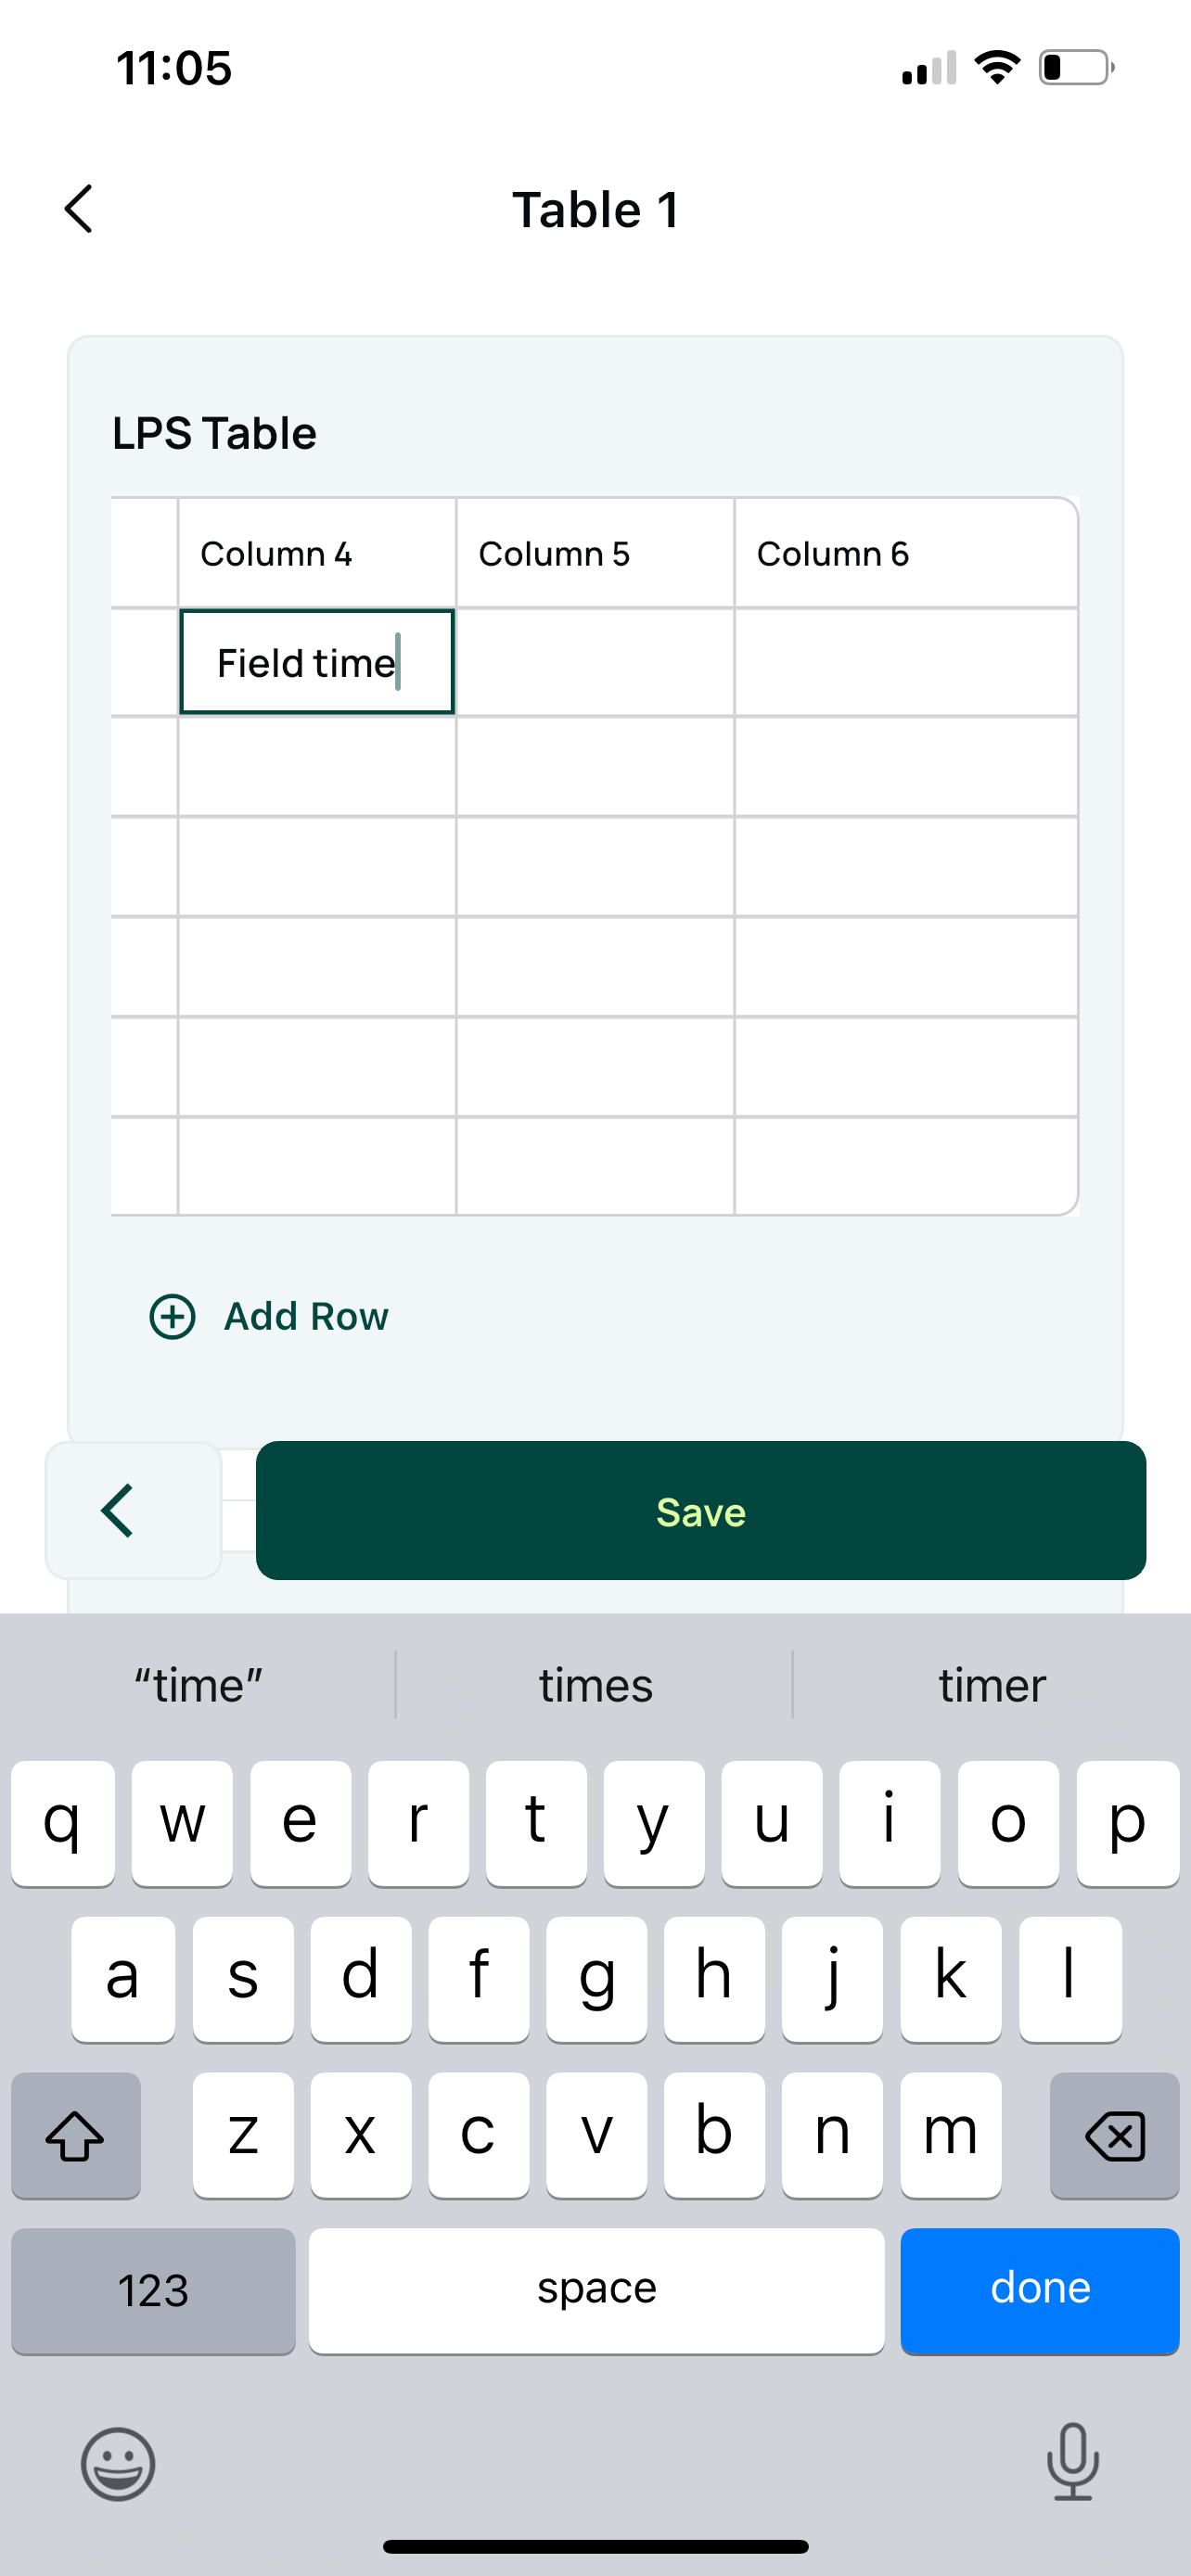
Tables
Tables function like spreadsheets: scroll to view or edit any unlocked row or column.
Greyed fields are locked and cannot be edited.
Permissions may allow you to add or delete rows.
Notes
Two types of notes are available:
Technical note (yellow): For internal guidance, not included in final reports or PDFs.
Essential note (blue): Visible in the final report and PDF.
Both note types support images and attachments. These remain accessible offline if previously viewed online.
Required Fields
Red asterisks (*) indicate required fields. Unfilled required questions or sections are highlighted in red, and reports cannot be submitted until all are complete.
Tables in reports function like lightweight spreadsheets and are optimized for mobile use in the technician app.
Table basics
Tables can be scrolled vertically and horizontally to view all content in both directions.
This allows technicians to see every column and row, even on smaller screens.
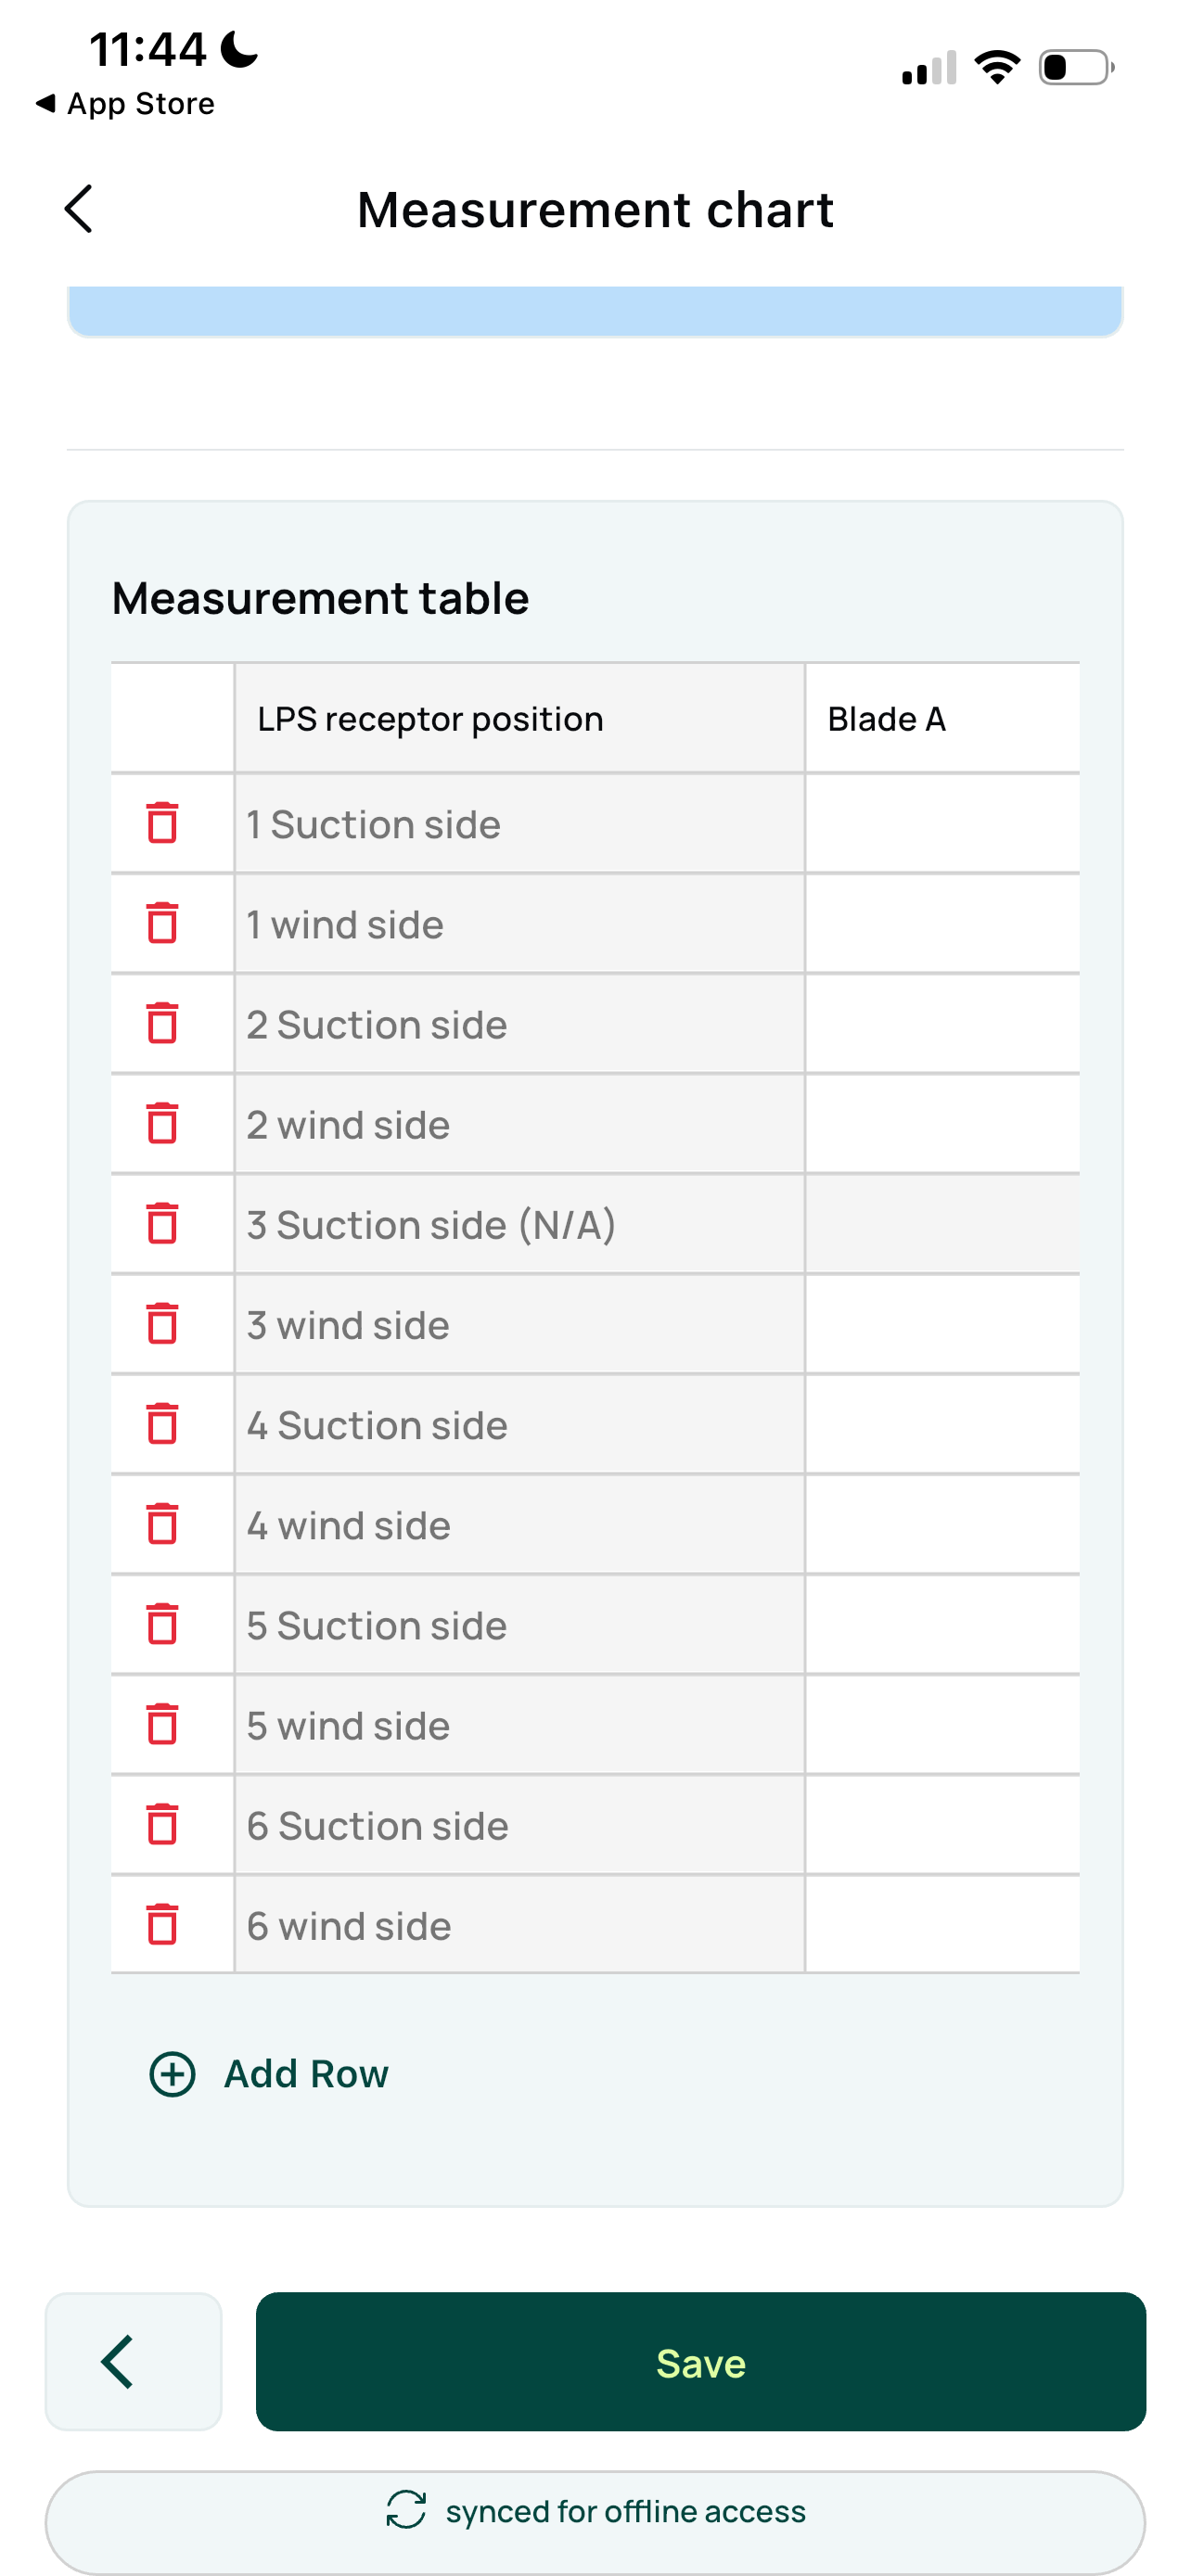
Locked rows and columns
Any grey columns or rows are locked for mobile users.
Locked areas cannot be edited on mobile, ensuring important reference or calculated data stays protected.
Adding and removing rows
Add/remove permissions are defined in the form template when the report is designed.
If mobile users are allowed to add rows, an Add Row icon appears at the bottom of the table.
If users are allowed to delete rows, a red trash can icon appears on the left side of each row.
Submitting Report
Tap the Submit button to move the report to the next workflow stage for approval.